DIY Projects
Preparing for printing
Screen printing is a fairly simple if you have the correct equipment and know how. It is also a lot of fun.
To begin you start creating what is referred to as the design postive or acetate. You can get them digitally printed but I prefer to do them by hand using an ink pink on acetate. The image must be perfect, neat and exact. What is black will be the print.
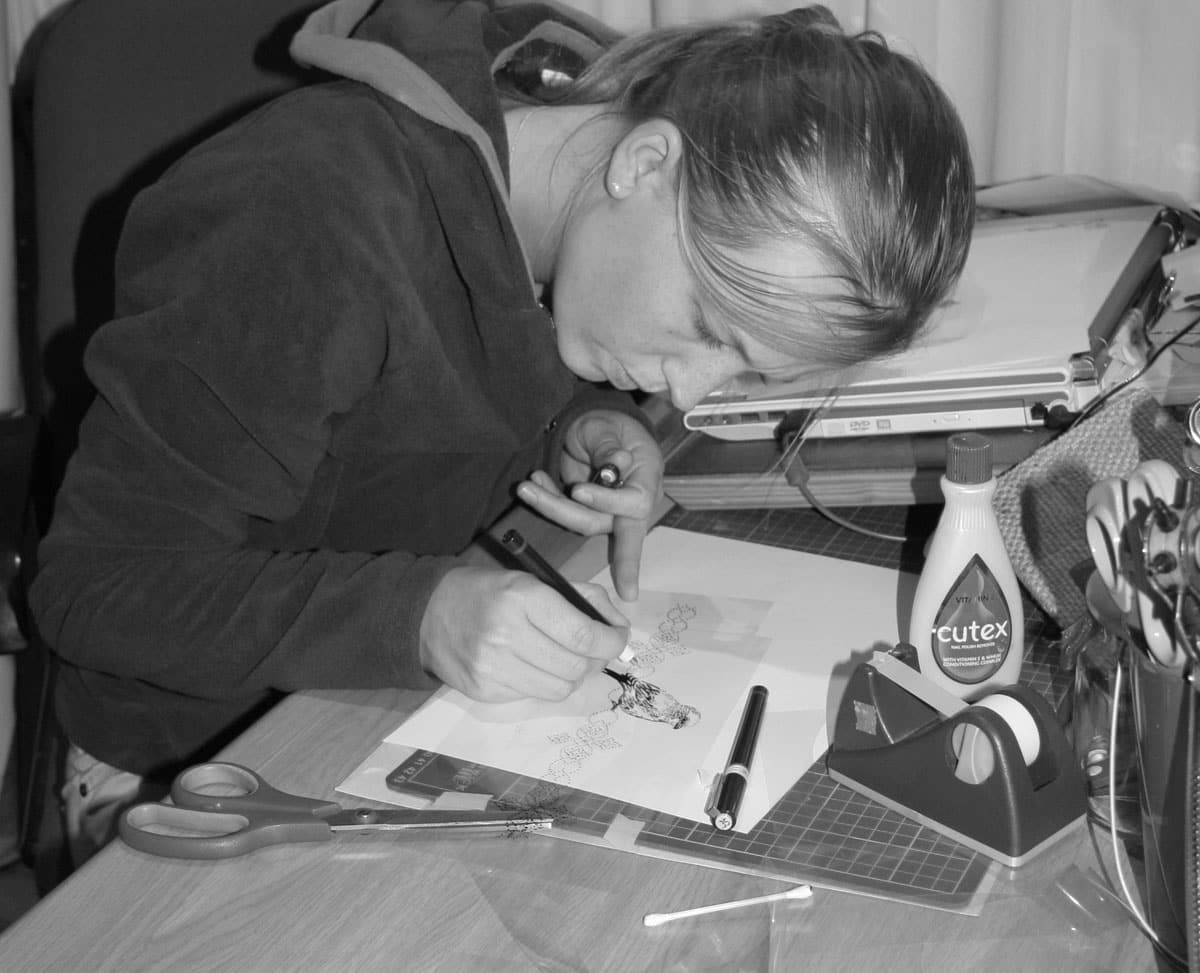
You always have to be careful not to smudge the image. If you make a mistake you can ‘erase’ it with nail polish remover. You also have to avoid touching the acetate as much as possible becuase the oil from your fingers prevents the ink from settling on the acetate properly. Nail polish remover also removes this oil.
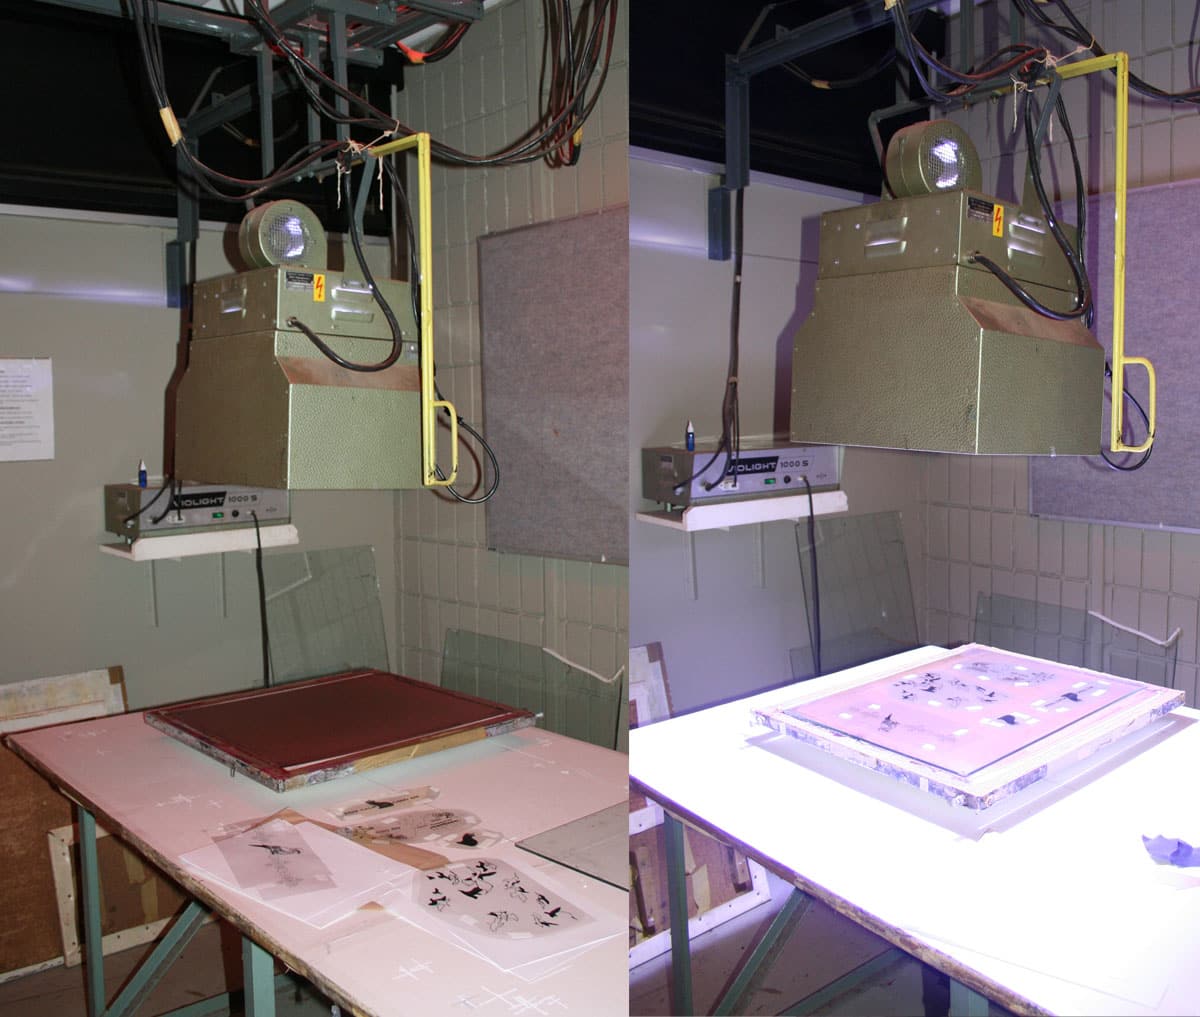
Once your positives are ready you can expose your screen but first your screen must be coated with emulsion and left for a few hours. Once ready, you place your positives mirror image down. You then turn espose the screen by turning on the ultra bright and luminious light for about 1min 20. Different meshes have different exposure times.
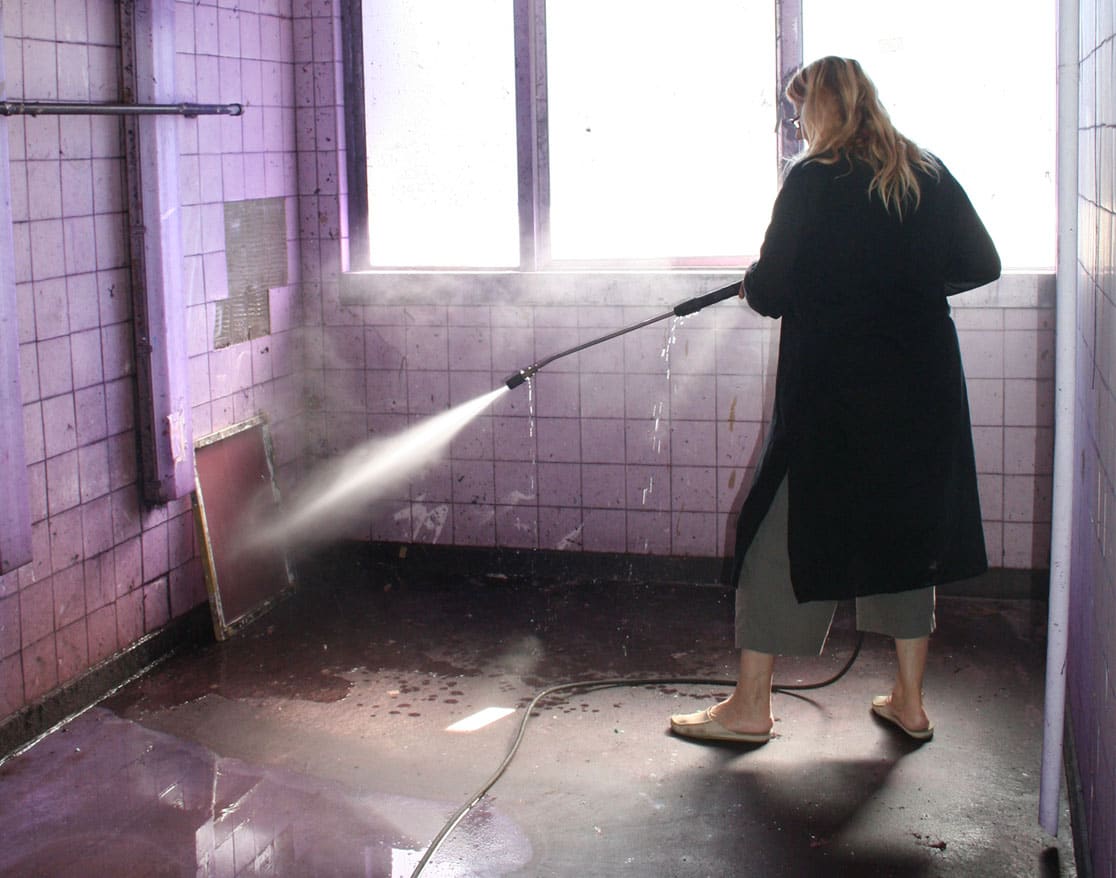
You then proceed to blasting out the unexposed areas of the screen with a high pressured hose. The pressue is very important beucase if you go to hard, you blast your image right out. Elize heped me.
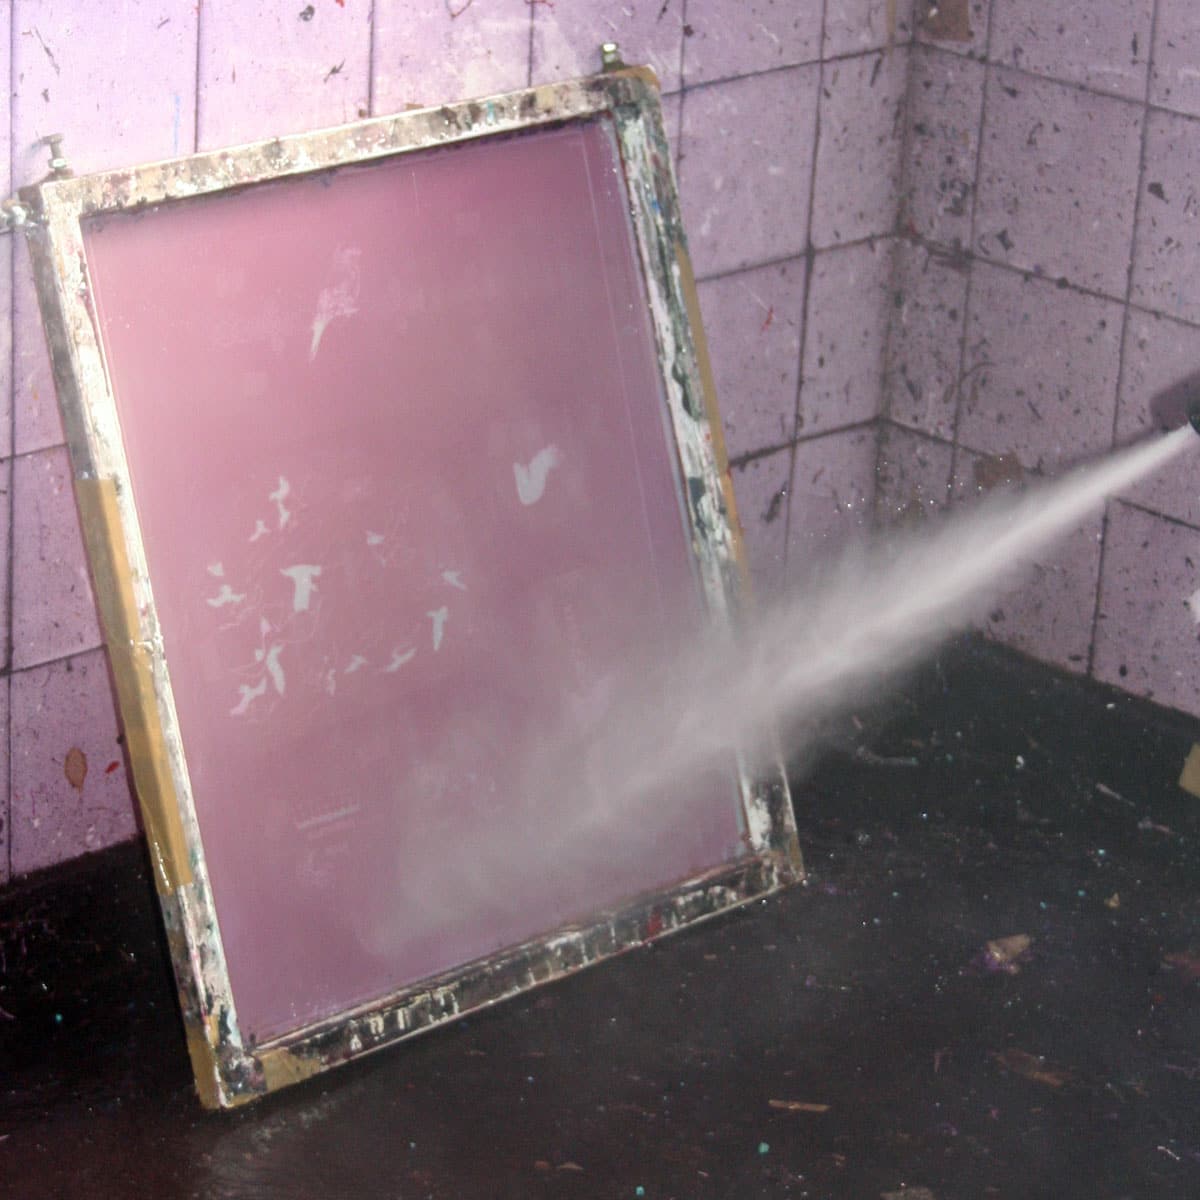
In a few minutes you start to see the images appear.
You then pat the screen dry. If you wipe it you might smudge any of the emulsion that has not yet set.
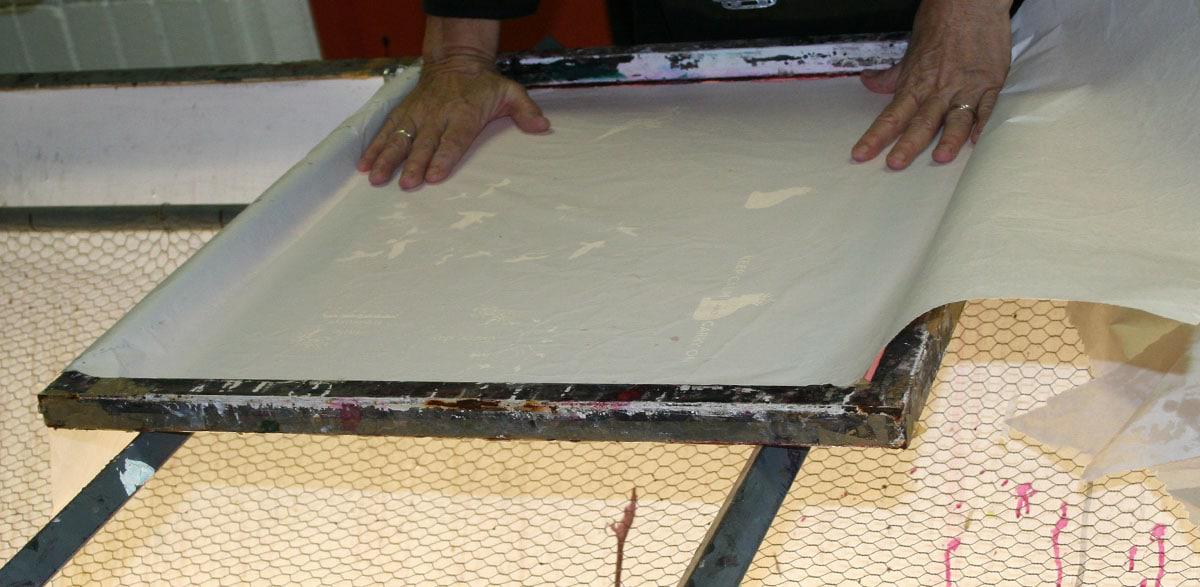
Once dry you cover up the areas around the sides where there is no emulsion with either buff tape or see-through packaging tape. You also touch up the pin-holes with a tiny bit of emulsion. If the screen has been coated well in the beginning there are fewer touch-ups.
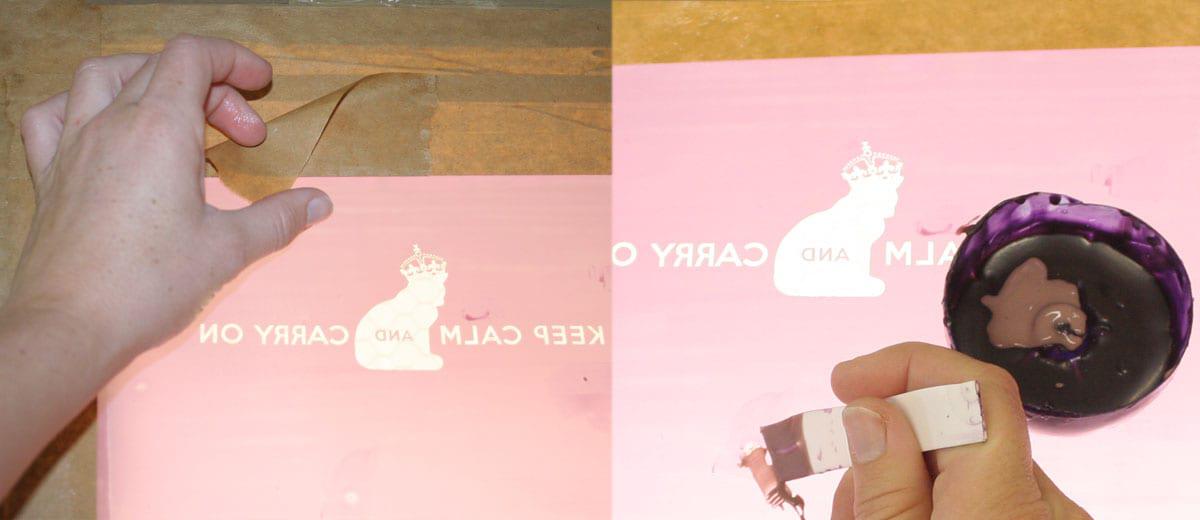
Now your screen is now ready for printing which is the best part (I think).


